
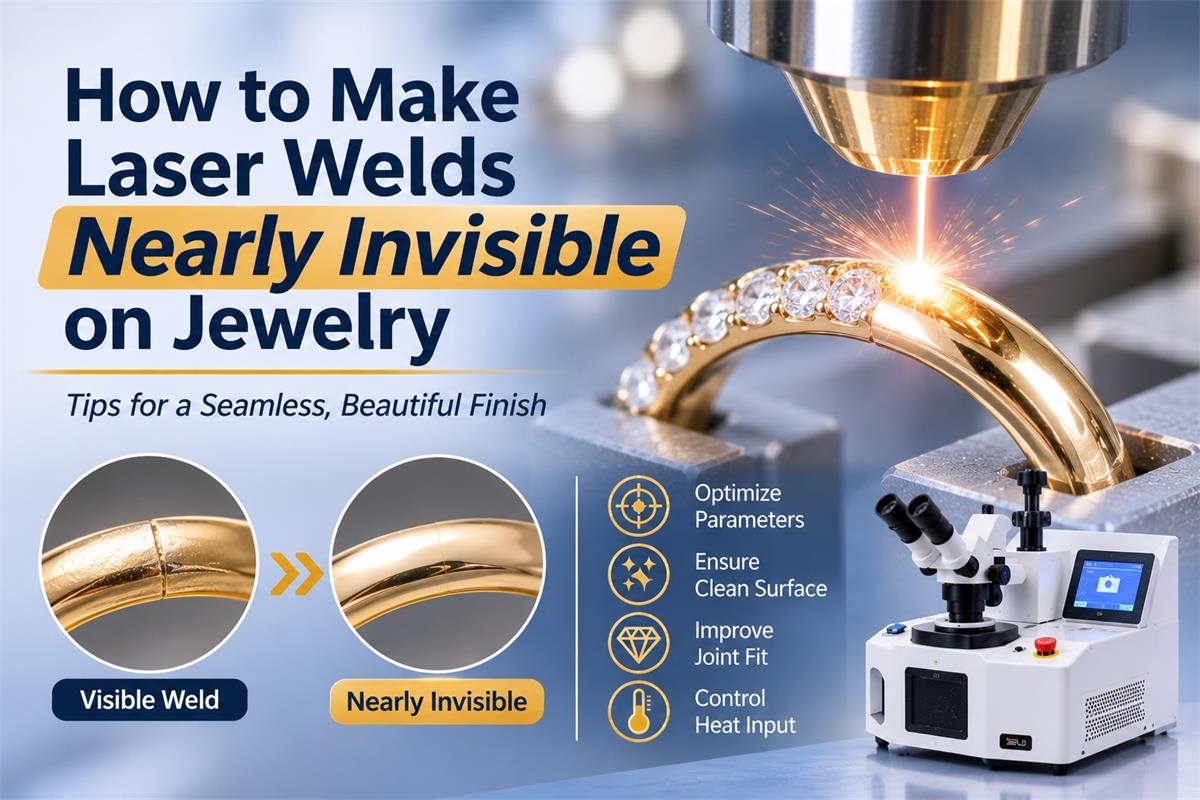
A visible weld line can reduce the appearance and value of fine jewelry, especially when repairing gold rings, delicate chains, and decorative components. For jewelry workshops, achieving a strong connection is only half the job; making the repaired area blend naturally with the original metal is equally important. Using a Dowin 150W Jewelry Laser Welding Machine, equipped with microscope observation and LED shadowless lighting, technicians can accurately position the laser and control small welding areas. This guide explains how to make laser welds nearly invisible through proper preparation, parameter adjustment, and finishing techniques.
1. Why Are Some Jewelry Laser Welds Still Visible?
Laser welding can produce very small and localized joints, but the finished weld is not automatically invisible.
Several factors can make a repaired area noticeable:
- Excessive melting: Too much laser energy creates a large weld pool and changes the original surface profile.
- Incorrect filler material: A color difference between the filler and base metal makes the repair area stand out.
- Uneven welding: Irregular pulse placement creates a rough or inconsistent weld surface.
- Poor joint preparation: Gaps and misalignment can produce excessive material buildup.
- Insufficient finishing: Grinding and polishing may leave visible transitions between the weld and original metal.
The goal is not simply to hide the weld, but to create a properly fused joint that matches the original jewelry geometry, color, and surface finish.
2. Choose the Correct Laser Parameters
Laser parameters have a direct influence on the size, shape, and appearance of the weld.
Control Pulse Energy
Excessive pulse energy can create a large molten area, excessive material buildup, and surface deformation.
Start with a moderate energy setting suitable for the metal thickness. Increase it gradually until sufficient fusion is achieved.
For thin gold jewelry, controlled pulses are generally preferable to applying excessive energy at one point.
Select the Right Spot Size
A smaller laser spot can help limit the welding area and preserve nearby decorative details.
For many small jewelry repair applications, the following spot sizes can serve as initial testing references:
| Spot Diameter | Typical Application |
|---|---|
| 0.2–0.3 mm | Fine cracks and delicate details |
| 0.3–0.5 mm | Ring joints and general jewelry repair |
| 0.5–0.8 mm | Larger connections and thicker components |
The correct spot size depends on the joint geometry, material thickness, and required penetration. A very small spot is not always better if it produces insufficient fusion.
Adjust Pulse Duration
Pulse duration determines how long energy is delivered to the metal during each pulse.
If the pulse is too long, excessive heat may enlarge the affected area. If it is too short, the weld may lack sufficient penetration.
Test different pulse durations on matching scrap material before working on valuable jewelry.
3. Use Matching Filler Material
One of the biggest reasons a repaired jewelry piece looks different is the filler material.
For example, using an incompatible gold alloy to repair an 18K yellow gold ring may produce a noticeable color difference after polishing.
Before welding, consider the following:
- Match the karat level whenever possible.
- Consider the gold color, such as yellow, white, or rose gold.
- Check the compatibility of the filler alloy with the base metal.
- Use only the amount of filler necessary to restore the missing material.
For white gold and rose gold, alloy compatibility is especially important because differences in composition can affect the final color.
When repairing platinum jewelry, use compatible platinum filler rather than assuming gold welding materials are interchangeable.
4. Prepare the Joint Before Welding
A clean, accurately fitted joint makes it easier to achieve a neat welding result.
Clean the Surface
Remove oil, polishing compounds, dirt, oxidation, and old solder residues where appropriate. Contamination can interfere with stable melting and contribute to pores or irregular weld surfaces.
Reduce the Joint Gap
Make sure the two metal edges fit together properly. Excessive gaps may require additional filler material and can create an unnecessarily large weld area.
Maintain Accurate Alignment
For ring resizing, chain repair, and small decorative components, accurate positioning helps maintain the original shape of the jewelry.
A microscope makes it easier to identify small gaps and positioning errors before welding.
5. Use the Right Welding Technique for Different Jewelry
Gold Rings
When repairing a cracked or resized gold ring, position the joint carefully and apply controlled overlapping pulses along the seam.
Avoid creating a large molten pool. The objective is to restore the original ring profile while achieving sufficient fusion.
After welding, remove only the excess material necessary to restore the surface contour.
Gold Chains
Fine chain links have very limited welding areas. Excessive energy can deform the link or create visible metal buildup.
Align both ends accurately and use small, controlled pulses. Avoid applying unnecessary filler material.
Earring Posts
When attaching an earring post, keep the post correctly aligned with the decorative base.
The weld should be sufficiently strong without creating an oversized connection that affects the appearance or wearing comfort.
Decorative Jewelry Components
Intricate jewelry designs often contain small details that are difficult to reproduce after excessive grinding.
Use precise laser positioning and carefully control the amount of melted metal to preserve the original design.
6. Grinding and Polishing: The Final Step
Even a technically sound laser weld may remain visible if the finishing process is not performed correctly.
After welding, the repaired area may require several finishing operations:
- Remove excess material: Carefully level any unnecessary weld buildup.
- Restore the original contour: Match the surrounding jewelry profile without removing too much base metal.
- Use progressive abrasives: Gradually remove scratches left by the previous finishing stage.
- Polish the surface: Restore a consistent shine across the repaired area.
- Inspect under magnification: Check for visible transitions, pores, scratches, or remaining defects.
Be particularly careful with thin jewelry components. Excessive grinding can weaken the repaired area and change the original dimensions.
For brushed, matte, or textured jewelry, the final surface treatment should reproduce the original finish rather than simply creating a mirror polish.
7. Why Microscope-Controlled Laser Welding Matters
Precision is essential when the objective is to make a jewelry weld nearly invisible.
A small positioning error can create unnecessary melting or leave part of the joint unfused.
Dowin’s 150W desktop jewelry laser welding machine is designed for small precious metal welding applications. Its microscope and LED shadowless lighting help operators observe the welding area and position the laser accurately.
Key features include:
- 150W rated power for various jewelry welding applications.
- Pulsed YAG laser technology for localized welding.
- Adjustable welding parameters for different materials and thicknesses.
- Microscope observation for precision positioning.
- LED shadowless lighting for improved visibility.
- Compact desktop design for jewelry repair workshops.
These features help technicians control small weld areas and reduce unnecessary surface damage. The final appearance still depends on material matching, welding technique, and proper polishing.
Explore Dowin Jewelry Spot Laser Welding Machine to see the equipment details and discuss sample welding for your jewelry materials.
8. Frequently Asked Questions
Q1: Can laser welding make a gold ring repair invisible?
In many cases, the repaired area can become very difficult to distinguish after proper welding, grinding, and polishing. However, the result depends on the alloy, damage condition, filler material, and finishing process.
Q2: Why is my laser weld visible after polishing?
Common causes include incompatible filler material, excessive weld buildup, different surface textures, and incomplete finishing. Check the alloy match and restore the original jewelry contour before final polishing.
Q3: Does a smaller laser spot produce a less visible weld?
A smaller spot can help localize the heat and reduce the affected area. However, it must still provide sufficient penetration. An undersized spot or insufficient energy can create a weak joint.
Q4: Can I weld 18K yellow gold without changing its color?
Yes, many 18K yellow gold repairs can retain their original color with suitable alloy matching, controlled heat input, and proper surface preparation. Some discoloration or surface differences may still require finishing.
Q5: Is laser welding better than soldering for invisible jewelry repairs?
Laser welding offers more localized heat input and precise positioning, making it useful for many delicate repairs. However, soldering may still be appropriate for certain joint designs and repair conditions. The best method depends on the jewelry structure and material.
Conclusion
Making laser welds nearly invisible on jewelry requires more than a precise laser machine. Proper joint preparation, suitable pulse parameters, compatible filler material, accurate positioning, and careful polishing all contribute to the final appearance.
For jewelry repair shops working with gold rings, chains, earrings, and other delicate components, a pulsed YAG jewelry laser welding machine provides an effective way to create small, controlled welds.
Contact Dowin to learn more about jewelry laser welding machines and request a sample welding test.
“`
Post time: Nov-20-2026
